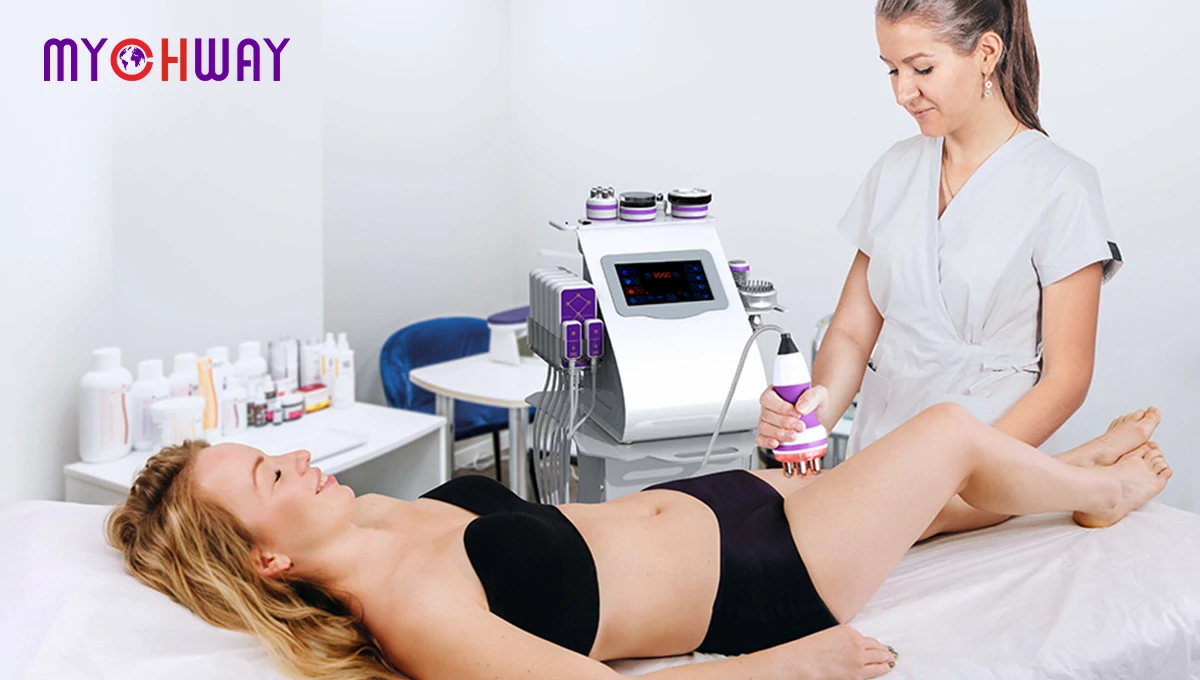
If you already own an ultrasonic cavitation machine but the inches are not moving, the machine is rarely the problem — the protocol is. Cavitation only releases fat when the gel layer, frequency, power, dwell time and session spacing all sit inside a narrow working window. Miss one and you get a warm belly rub with no measurable result. This guide walks you through how to use a cavitation machine correctly on both home units and salon-grade equipment, including the settings table, the seven mistakes that quietly cancel results, and the aftercare that decides whether the released fat actually leaves the body.
What a cavitation machine actually does
An ultrasonic cavitation machine converts electrical energy into low-frequency pressure waves, usually between 30 kHz and 80 kHz. In the fat layer those waves create rapid cycles of expansion and compression, forming micro-bubbles that collapse violently — a process called inertial cavitation. The mechanical stress disrupts the adipocyte membrane, and the released triglyceride content is carried away by the lymphatic system and processed by the liver before being excreted.
Two practical consequences explain almost every "it didn't work" complaint. First, energy has to reach the fat layer rather than the skin surface — which is what coupling gel, correct contact pressure and the right frequency for the thickness of the fat layer achieve. Second, released fat has to be cleared: a dehydrated, sedentary client who re-treats the same area daily will stall regardless of machine power. For the physics, frequency ranges and how cavitation compares with radiofrequency and vacuum platforms, see our cavitation machine buying and technology guide.
Before you start: the six-point setup check
Run this check on your cavitation machine every single session. It takes ninety seconds and prevents most avoidable incidents.
| # | Check | Pass criteria |
| 1 | Client screening | No absolute contraindication (see the safety section below). Confirm no pregnancy, implanted electronic device, active infection over the area, or anticoagulant therapy. |
| 2 | Machine integrity | Probe face free of cracks or chips, cable and connector undamaged, no error code on start-up. A cracked probe face is a burn risk — retire it. |
| 3 | Probe disinfection | Wipe with an approved surface disinfectant and dry fully before contact. Never submerge the handpiece. |
| 4 | Skin inspection | Look for moles, scars, rashes, broken skin, tattoos over the area, or visible veins. Mark and avoid them. |
| 5 | Measurement baseline | Photograph and measure the area under consistent lighting and posture. Without a baseline you cannot judge progress. |
| 6 | Consent and expectations | State clearly that this is a series-based contouring treatment, that results vary, and that it is not a weight-loss procedure. |
How to use a cavitation machine: step by step
Step 1 — Prepare the treatment area
Cleanse the skin and pat dry. Remove lotion, oil, sunscreen and body butter — oil-based products break the gel coupling and drive energy into the surface instead of the fat layer. If the area is hairy, trim rather than shave immediately before treatment, since freshly shaved skin is more reactive.
Step 2 — Apply coupling gel correctly
Spread a 2–3 mm layer of aqueous ultrasound gel across the whole treatment zone plus a 3 cm margin. Gel must be water-based; oil, massage lotion and aloe vera gel are not acoustic couplants. Re-apply during the session whenever the surface starts to feel tacky or the probe begins to drag.
Step 3 — Select the probe and frequency
Match frequency to fat thickness, not to body part names. A thin client treating the abdomen may be better served by 60 kHz than by an aggressive 30 kHz setting. If your device is a multi-frequency system such as an 80k cavitation machine, start with the higher frequency and step down only if the response is too mild.
Step 4 — Power up from the bottom
Switch on, verify the probe is vibrating (a faint hum and a light tingling on the gel surface), and set power to level 2–3 out of 10. Power is not a proxy for results: higher power shortens the time needed to reach the cavitation threshold but sharply increases the risk of surface heating. Increase one level only after two to three minutes of comfortable treatment at the current setting.
Step 5 — Establish contact and motion
Press the probe face flat against the gel with light, even pressure — enough to maintain contact, never enough to blanch the skin. Move in slow, continuous, overlapping circles at about 2–3 cm per second, covering the area in a grid pattern so every square centimetre receives the same number of passes. Never hold still in one spot for more than a few seconds.
Step 6 — Work to a time budget, not a feeling
Time each area individually rather than timing the whole session. Use the table below. Keep a visible timer: "a bit longer because it feels fine" is the single most common route to overtreatment.
Step 7 — Watch for endpoint and stop signals
Expected response: uniform mild erythema, warmth, a faint buzzing sensation, and audible cavitation noise from the handpiece. Stop signals: sharp or stinging pain, a hot spot under the probe, blotchy or reticulated redness, numbness, dizziness, or any request from the client to stop. On any stop signal, remove the probe, wipe the gel, cool the skin and do not resume that area in the same session.
Step 8 — Close the session properly
Wipe off the gel with a warm damp towel, inspect the skin, and dry the probe face with a soft tissue before disinfecting it. Then deliver the aftercare briefing in the next section — in person, not by leaflet. Record the area, frequency, power level, duration and skin response so the next session can be adjusted from data rather than memory.
Settings by treatment area
The ranges below are a starting framework for a healthy adult of average build. Adjust downward for thinner clients, sensitive skin and first-time users.
| Area | Frequency | Starting power | Active time | Typical course |
| Abdomen (upper and lower) | 40 kHz | 2–3 / 10 | 10–20 min | 6–10 sessions |
| Flanks and love handles | 40 kHz | 2–3 / 10 | 8–12 min per side | 6–8 sessions |
| Outer and inner thighs | 40 kHz | 2–3 / 10 | 20–25 min total | 8–10 sessions |
| Buttocks | 40 kHz | 2–3 / 10 | 10–15 min per side | 8–10 sessions |
| Upper arms | 60 kHz | 1–2 / 10 | 5–10 min per arm | 6–8 sessions |
| Back and bra line | 40 kHz | 2 / 10 | 20–40 min total | 8–10 sessions |
| Knees (inner fat pad) | 60–80 kHz | 1–2 / 10 | 5–8 min per side | 6–8 sessions |
Home device vs professional device: what actually changes
| Factor | Home cavitation device | Professional / salon system |
| Typical output | Lower, often single-frequency 40 kHz | Higher, multi-frequency 30–80 kHz with multiple handles |
| Power levels | 3–5 coarse steps | 8–10 fine steps |
| Who operates | The user, on themselves | A trained operator on a client |
| Realistic pacing | Shorter sessions, more of them, slower cumulative result | Longer sessions, faster visible change, tighter monitoring |
| Main risk | Over-treating out of impatience; poor gel discipline | Burns from excessive power or a stationary probe |
Seven mistakes that make cavitation "not work"
- Too little gel. Output drops, surface heat rises. If the probe drags, you are already under-gelled.
- Power at maximum from session one. That buys surface heating and defensive tension, not deeper fat disruption.
- Rushed or stationary probe motion. Standing still concentrates energy; moving fast delivers too little per square centimetre.
- Treating the same area every day. Clearance takes time — that is overtreatment, not diligence.
- No hydration or movement afterwards. Fat is mobilised by the machine but cleared by the body.
- Treating the wrong tissue. Cavitation targets subcutaneous fat. Skin laxity or dense fibrous tissue needs radiofrequency or a lipo laser machine instead.
- No baseline and no records. Without measurements and photos, drifting technique never gets corrected.
Aftercare: the first 48 hours
- Hydrate: roughly 2 litres of water over the rest of the day and the following day.
- Move: 20–30 minutes of low-intensity cardio within 24 hours supports lymphatic return.
- Skip heat and alcohol for 24 hours — no sauna, hot bath, steam room or heavy sun exposure; protect the area with SPF if it will be exposed.
- Massage gently with a fragrance-free moisturiser to reduce swelling and discomfort.
- Expect more urination for 24–72 hours. That is the clearance process working, not a warning sign.
- Report anything unusual. Persistent pain, blistering, spreading redness, fever or numbness needs medical assessment, not another session.
Results timeline: what to expect and when
| Timepoint | What most people notice |
| Immediately after | Warmer, slightly flushed skin; a softer feel to the area; sometimes mild temporary swelling |
| 24–72 hours | Increased urination; swelling settles; skin texture feels smoother |
| Sessions 2–3 (week 2–3) | Clothing fits differently before the tape measure shows much; photos are more reliable than the mirror here |
| Sessions 6–10 (week 4–8) | Measurable circumference reduction in the treated area; published series typically report modest changes in the region of one to three centimetres per area, with wide individual variation |
| Maintenance | One session every 4–6 weeks, together with stable body weight, holds the result |
If nothing visible or measurable changes after four properly executed sessions with documented settings, stop and reassess the indication rather than adding power. In most of those cases the concern is skin laxity or overall body weight, not localised fat.
FAQs: how to use a cavitation machine
How often should I use a cavitation machine?
Once every 3–7 days on the same area, for 6–10 sessions, then one maintenance session every 4–6 weeks. Treating the same zone daily does not speed up fat clearance and increases the risk of skin irritation.
Does a cavitation treatment hurt?
No. Most people describe a warm, buzzing or faintly tickling sensation, plus the sound of the handpiece. Sharp pain, stinging or a hot spot means the power is too high, the gel layer is too thin, or the probe has stopped moving — stop and correct it rather than enduring it.
How much gel do I need, and can I use lotion instead?
Use a 2–3 mm layer of water-based ultrasound gel, re-applied whenever the surface feels tacky. Lotion, oil, body butter and aloe gel are not effective acoustic couplants — ultrasound energy dissipates at the surface, which is exactly the condition that produces burns and poor results.
Why is there a loud buzzing noise during treatment?
The noise is the handpiece vibrating, not a fault. Current multi-frequency systems and 40 kHz "cavitation 2.0" probes run noticeably quieter than older single-frequency units, but some audible hum is normal and expected.
Can I use a cavitation machine on my whole body?
No. Cavitation is appropriate for soft subcutaneous fat on the abdomen, flanks, thighs, buttocks, upper arms and back. It must not be applied to the front of the neck, the chest over the breasts, the spine, or directly over the kidneys, thyroid or reproductive organs.
How quickly will I see results?
Skin texture and firmness often change within the first week, but measurable circumference reduction typically appears after four to six sessions, with the clearest change at the end of a full 6–10 session course. Photographs and a tape measure at fixed landmarks are more reliable than the mirror.
Do I need to exercise after a cavitation session?
It helps. Twenty to thirty minutes of low-intensity cardio within 24 hours, plus roughly 2 litres of water, supports lymphatic clearance of the released fat. Exercise does not need to be intense — consistency matters more than effort.
Can I combine cavitation with fat freezing or lipo laser?
Yes, with spacing. Cavitation and fat freezing should be separated by at least two weeks on the same area because both create a significant local inflammatory response. Cavitation followed by radiofrequency in the same session is a common studio protocol, since one addresses fat volume and the other skin tightening.
If you are choosing your first device, decide the indication before the budget: soft subcutaneous fat calls for cavitation, laxity calls for radiofrequency, and a small discrete bulge may be better served by fat freezing. Whichever platform you run, treat your cavitation machine as a precision instrument rather than a power tool — correct gel, correct frequency, correct time budget and honest record-keeping will outperform a higher setting every single time.



You may like
-
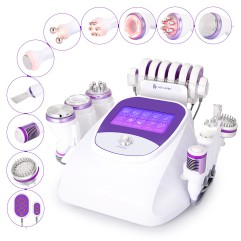
Brand: UNOISETION
10 in 1 Mychway Cavitation Machine Body and Facial Caring for Startup Beauty Studios
$680.00

